How To Add Micro Drills To Improve Your Draw
Chances are great that you carry a gun to protect yourself should you ever be attacked. That’s good news, but the sad truth is that most gun carriers are woefully unprepared to win a fight with their pistol.
Many folks have only taken their concealed carry class and go to the range to do target practice with their gun a few times per year. To be honest, if your goal is to succeed in a defensive scenario you must do more. After working in the industry for so long, several things are obvious:
- Defenders struggle to get their guns out of their holsters.
- If they can get it out, they often don’t have a proper grip.
- If they don’t have a proper grip their recoil management is not good
- They miss follow-up shots or, worse, cause a malfunction with a poor grip.
- Adding the stress of defensive gun use (tunnel vision, increased heart rate, etc.) makes matters worse, so even those who have practiced and are good at the gun range, without stress simulation, still struggle during real-life encounters.
One way to get better is to do what some call micro drills.
What is a micro drill?
A micro drill is exactly what it sounds like — a condensed, or micro, version of a full drill that is done in steps to perfect that part of the process before moving on. Think of a micro drill as a single slice of a whole pizza.
In our case, the whole pizza can be considered the entire draw stroke, while each slice makes up an important aspect of the entire thing. Forming your grip is one slice while presenting to the target is another.
You wouldn’t usually sit down with a whole, uncut pizza, roll it up, and start chomping. Instead, you cut it up and eat it one slice at a time.
In the context of the draw stroke, we can practice one step at a time over and over until we get really good at it.
This is an excellent option for those times when you want to get better at one specific aspect of self-defense. For this article, we’ll talk specifically about the formation of our grip since this is one of the main areas people struggle with.
When you have a poor grip from the start, you run the risk of ruining the rest of your draw stroke and even your shooting accuracy. During a critical incident, you have two options if your grip is not as good as it should be. First, you take the (already limited) time to adjust your grip. Or, second, you take the shot with a bad grip.
Either way is less than ideal, and it is best to have a good grip from the start. That is what we are now training for with this micro drill.
How to do a micro drill:
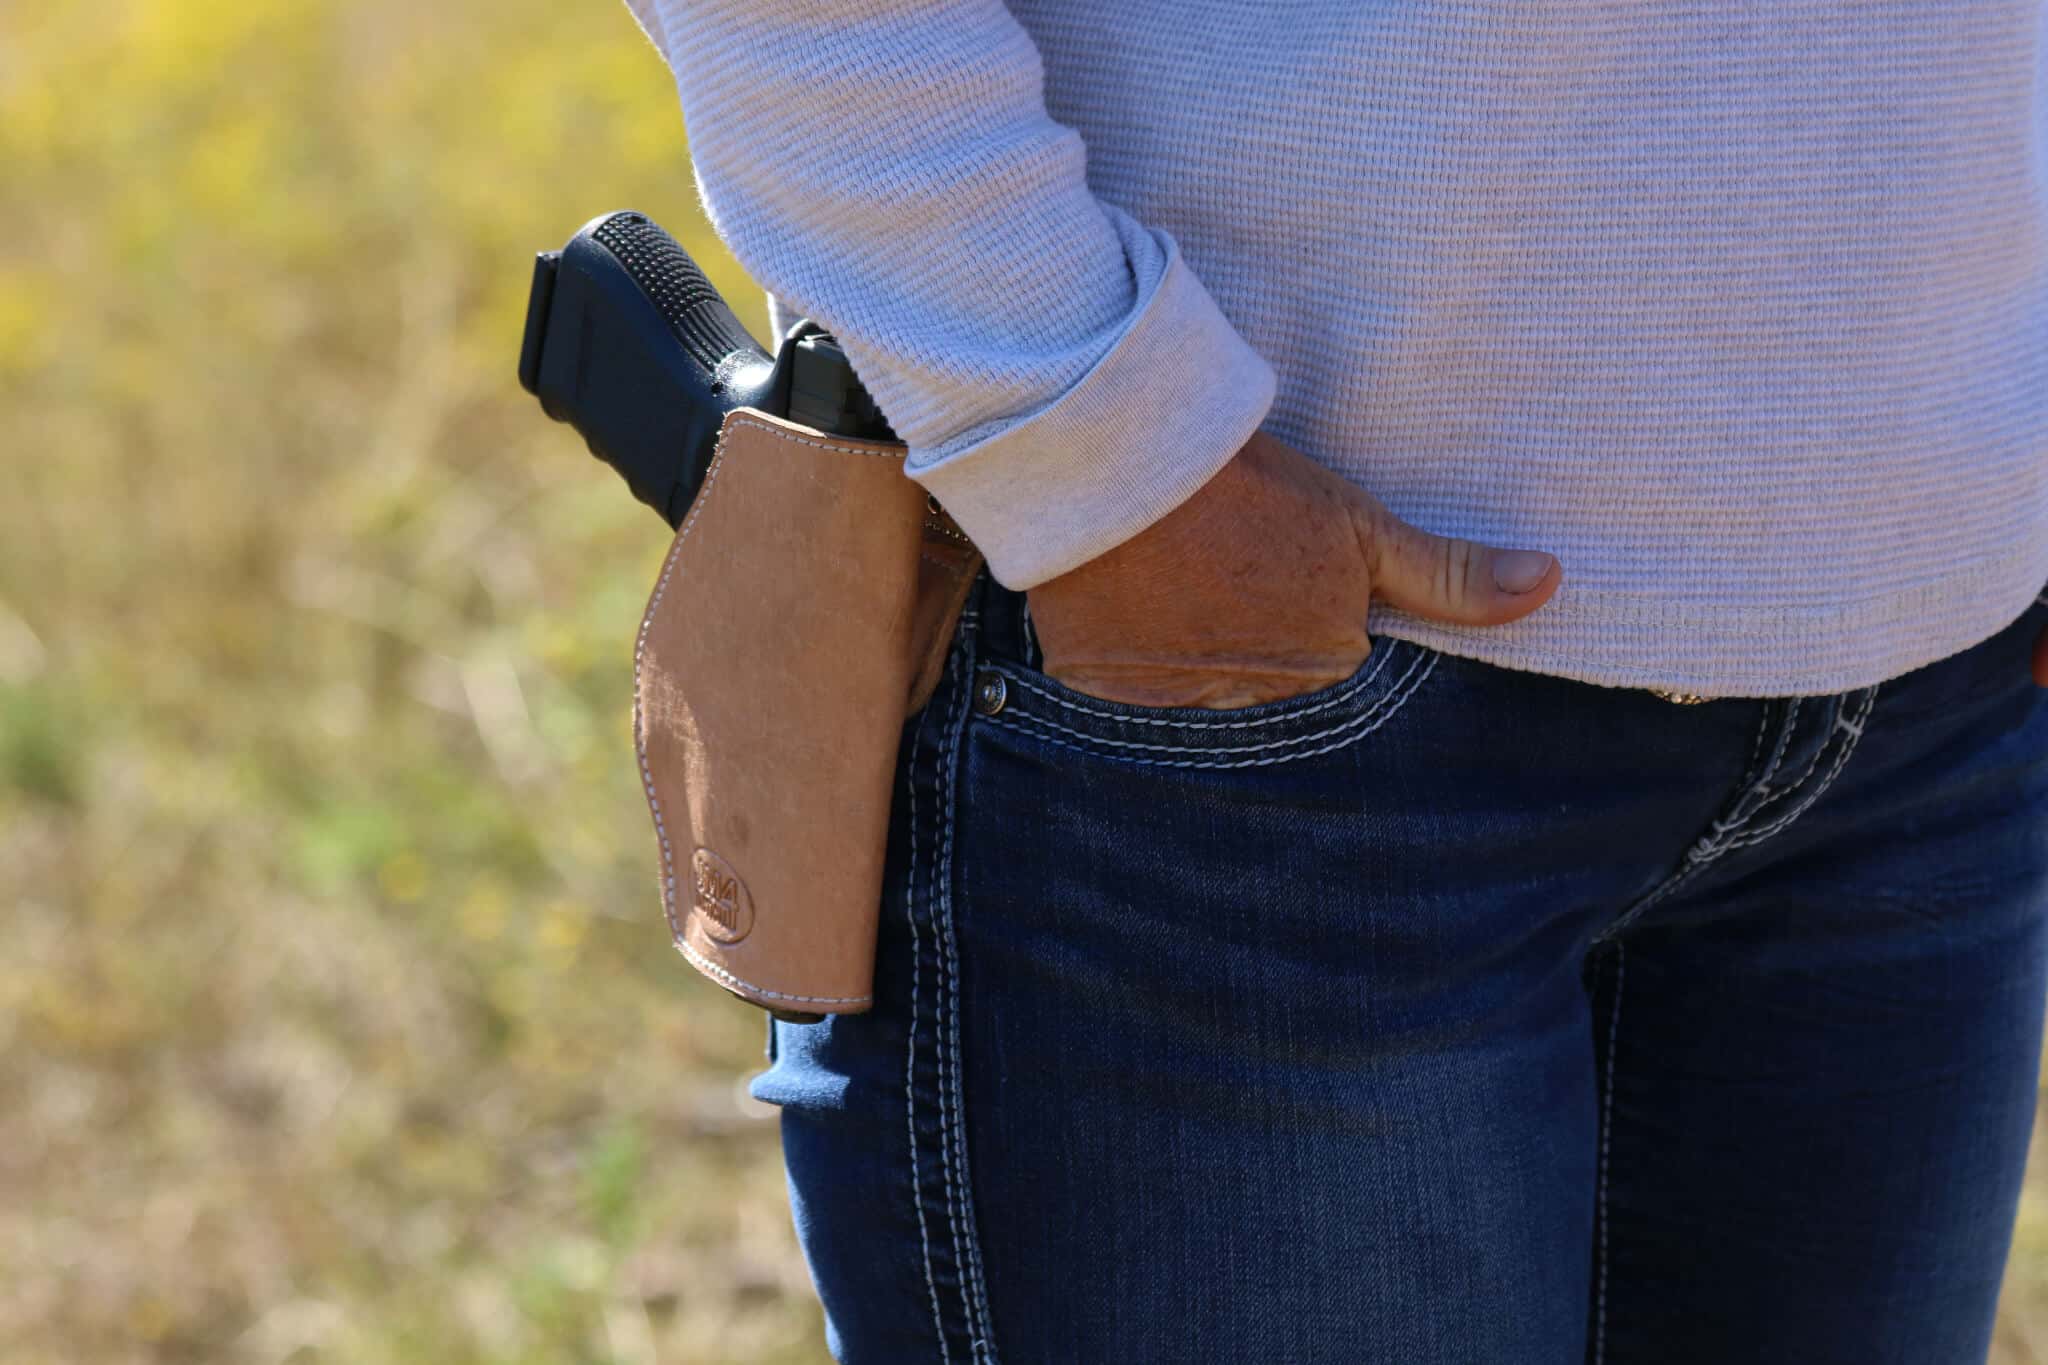
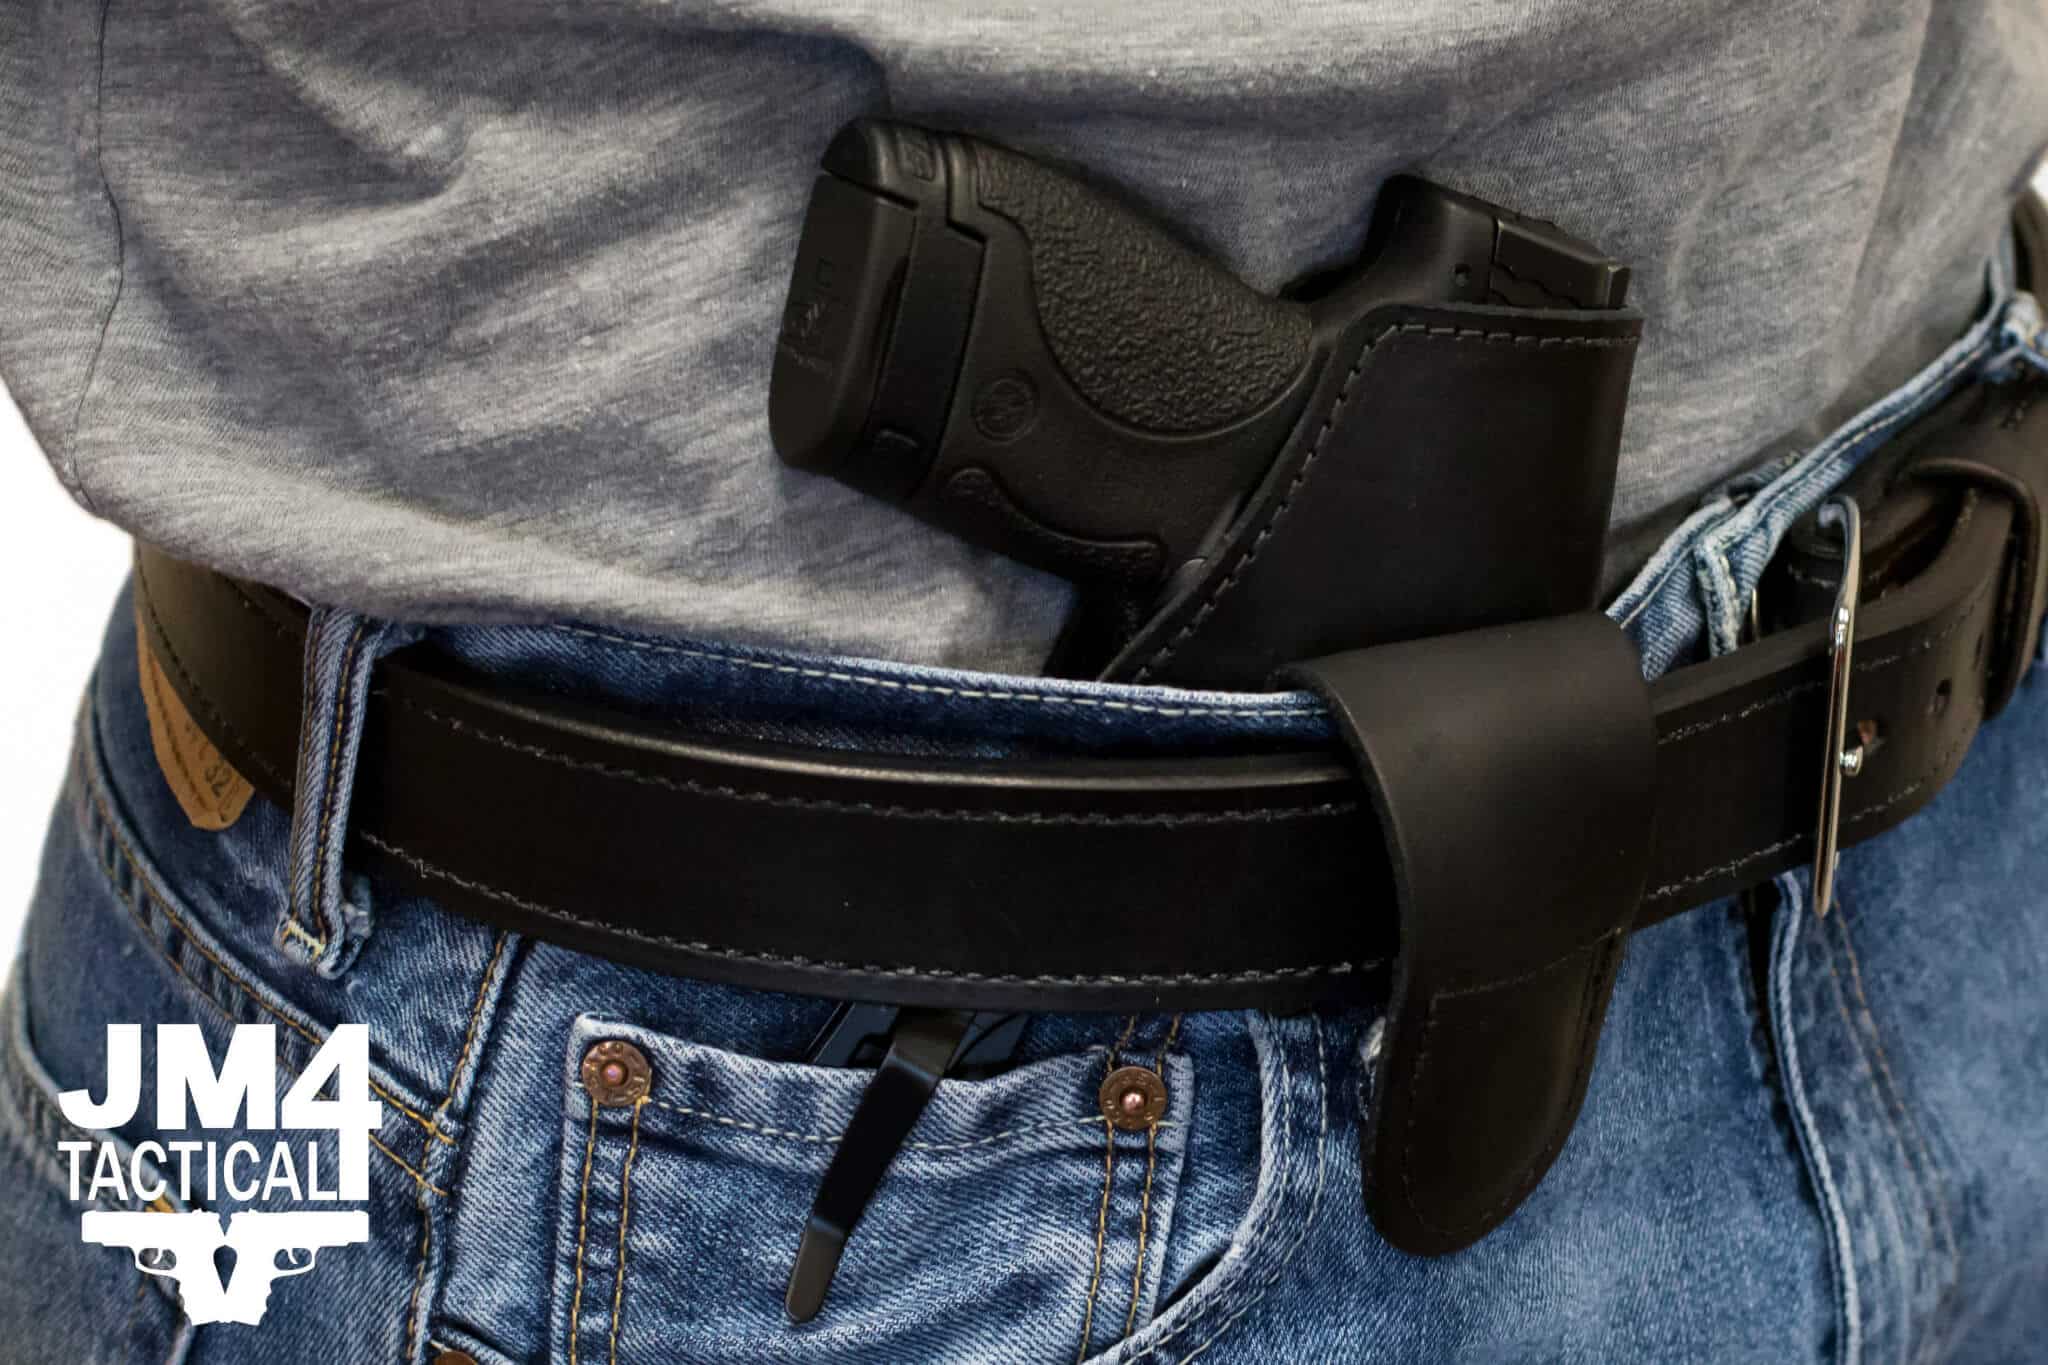
To start, you’ll have an empty gun like you would during dryfire practice. Make sure it is empty and holster it in your chosen position, and make sure you’re using your leather gun belt.
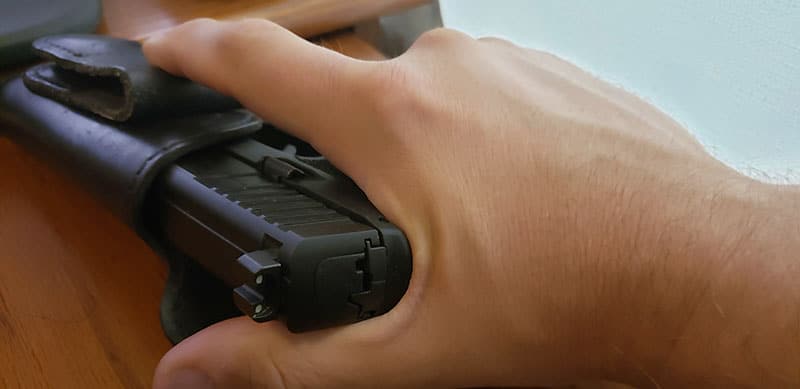
Your only purpose during this drill is to get your clothing out of the way and grab your gun as high up on your gun’s grip as you possibly can. Ideally, at least for semi-autos, you’ll want to mash the web of your hand (which is the area that connects your thumb to the rest of your hand) up into the beaver tail.
There shouldn’t be any space between that part of your hand and that part of your pistol. It may be uncomfortable, but remember that your reason for carrying a gun is to save your life.
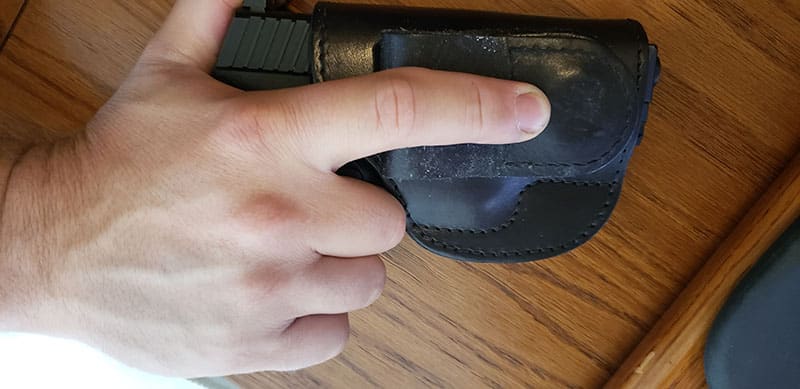
This is rapidly followed by wrapping the rest of your non-trigger fingers around the front of the grip, with your trigger finger staying straight to follow the gun safety rules as you were taught.
That is it. That’s the drill in its entirety. Well, you keep doing it over and again until you get to the point where your grip is fantastic each time, and then you move on to the next micro drill.
To recap:
- Get clothing out of the way.
- Mash the web of your hand high up on the gun’s grip.
- Wrap your non-trigger fingers around the front of the grip.
- Keep your trigger finger straight down the slide area of the holstered weapon.
- Repeat
- Repeat
- Repeat
And keep repeating until it becomes second nature, and you have a proper grip every single time. Of course, do it while the gun is holstered on your body in your chosen carry position and NOT on the table as I’m trying to demonstrate in pictures.
Adding other steps:
The goal is to get better so that you can smoothly get from clearing your garment to shooting your target in one smooth swoop. After you get the grip portion down, you’ll want to practice another step of the draw stroke.
I tend to look at the draw stroke as three separate steps, while others see it differently. For me, step one is clearing the clothing and forming the grip. Step two is drawing the pistol up high out of the holster and adding the support hand. Step three is presenting the target and pressing the trigger.
You can practice each of these steps independently to perfect them before adding them all together.
Conclusion:
Hopefully, I’ve given you some things that you can practice to improve your draw stroke so you’re more prepared to defend yourself appropriately. Training a little bit every day is way better than never doing it at all.